First you'll need to ensure that you're Quest MT330 is connected to your mobile device. See here for further information.
Launch the Quest+NAB app by selecting the icon on your smart device.
![]()
1 | ||
Enter the sale Amount into the Quest+NAB app. Multiple amounts can be added and subtracted using the integrated calculator to come to the final amount. |
||
2 | ||
Enter Cash Out (Optional). Select the Cash out tab and enter a Cash out amount. This will be the amount of cash you will give to the customer should the transaction be approved. Only multiples of 5 cents will be accepted (ie. $10.00 is OK, but $10.02 will be rejected). Cash Out can be disabled via Settings. See here for further information regarding Cash Out. |
||
3 | ||
Enter Notes (Optional). You can add notes to the transaction at any point by selecting Add Note. This will NOT appear on the cardholders card statement or receipt. It will be recorded as a note for the merchant's reference and is accessable in the receipt and transaction history. |
||
4 | ||
Select Tender > when all details have been entered. This will send the tranasction to the Quest MT330. |
1 |
||
 |
Hand Quest MT330 to the customer to swipe or insert their card. |
|
 |
||
2 |
||
 |
Customer selects their account by pressing: For Cheque Account - Press 1
If configured, your customers may be asked to enter a tip or accept a surcharge after this point. Please see tipping and surcharging for further information. |
|
 |
||
3 |
||
 |
The customer will enter their card's PIN on the Quest MT330 keypad and select Enter. |
|
 |
||
4 |
||
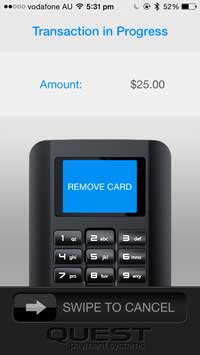 |
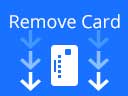
Customer removes their card from Quest MT330 |
|
 |
||
5 |
||
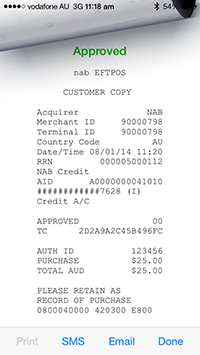 |
Transaction result is displayed and the receipt will be shown in the Quest+NAB app. Should the customer wish a copy of the receipt, select the receipt method - Print, SMS or Email. For information on receipt options, see here. The Print option will only be available if a receipt printer has been configured. See here for details on purchasing and configuring a receipt printer.
The SMS option is only available on smartphone devices.
|
|
 |
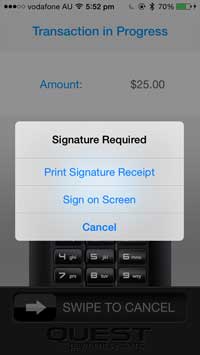
Under certain circumstances (ie. customer does not enter a PIN or the card does not have a chip), a signature is required to verify the customer is the owner of the card. If the Quest+NAB app requests you verify the customer's signature, you need to get the customer to either sign on the screen of your device or on a printed receipt. Ensure that the signature provided matches the signature on the rear of the customer's card.
1 |
||
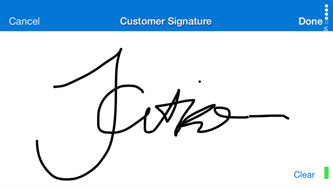 |
Ask the customer to sign on the screen of your smart device and select Done
If the customer makes a mistake entering their signature, instruct them to press Clear which will clear the screen and allow them to start afresh.
|
|
 |
||
2 |
||
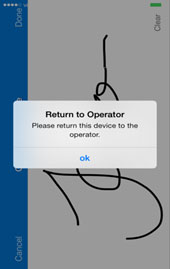 |
The customer will be instructed to hand the smartphone or tablet back to the operator. |
|
|
||
3 |
||
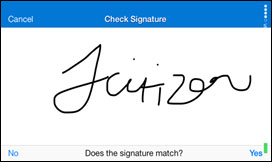 |
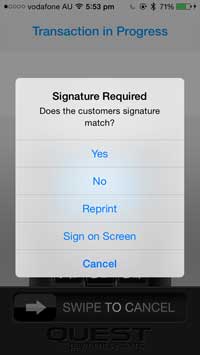
Select OK and then select Yes (bottom right corner) once you've confirmed that the signature provided matches the signature on the rear of the customer's card. |
|
|
|
Taking Card Payments Guide v2.2 (28-04-2015) - Copyright 2015 © Quest Payment Systems Pty Ltd